I have not made clay stamps with my classes before -- we'll see how it goes!
The idea is to have the kids use their stamps on a sculpture that we will be making in a few months.
They seemed to really like the idea.
I began by showing a view video clips -- showing examples of how clay stamps work.
Using my document camera, I demonstrated how to create a "roller" stamp (which helped me to introduce the term "slab") and then how to create a stamp with a handle.
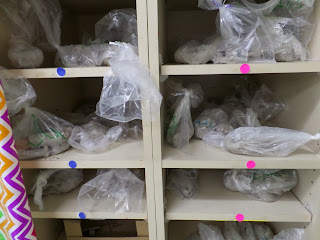 |
I took this photo to show how we stored and organized our projects. I had four classes doing this and wanted to keep them sorted by hour. I used to put their names on the shelves, display a list, etc. but that ends up being extra work I don't have time for. This time I had some colorful dot stickers and placed them on the shelves (as you can see in the photo). 1st hour was blue, 2nd hour pink, and so forth. It worked out well!
Also, to help reduce the temptation of touching other kids' work while on the shelves, I covered the shelves (except for the current hour that was working) with a $1.00 plastic table cloth from Wal-Mart. Worked like a charm! |
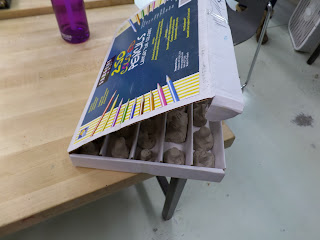 |
I always save boxes -- especially the marker and colored pencil ones. These are GREAT for keeping things organized. I use them to help keep my pastels and inkwells sorted.
Luckily, I had a few to help store the stamps as they dry!! |
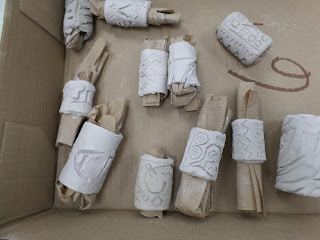 |
| A few "roller" stamps |
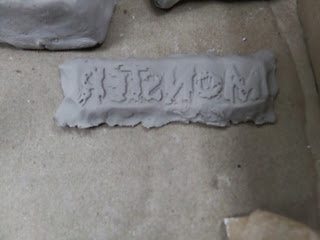 |
This one was made with the student pressing in a bracelet that they were wearing.
I did encourage them to use a variety of tools -- this opened up a new view on creating textures with everyday items.
We used pens, coins, bottle caps, etc. |
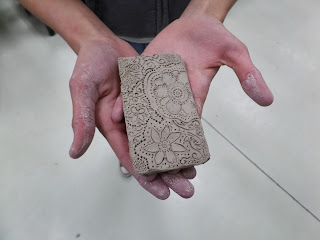 |
A "roller" stamp design. Students were instructed to roll out a slab of clay & cut out a rectangular shape (about 2"x 4" I think...)
Then, they carved, pressed in, added to, etc. to create a design.
Using paper towel to help hold it's shape, the stamp was rolled, slipped and scored and complete!
Fun!! |


